How to Create Your Personal Blog [GitHub + Hexo]
Preparation
Sign up for your GitHub account
link: https://github.com/
Install node.js
link: https://nodejs.org/en/ check:
1 | node --version |
Install git
link: https://git-scm.com/downloads check:
1 | git --version |
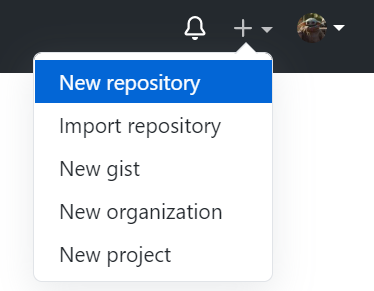
GitHub Repo
New repo
Create repo
Name your Repository name as: Ownername.github.io
Choose Public
Check Add a README file
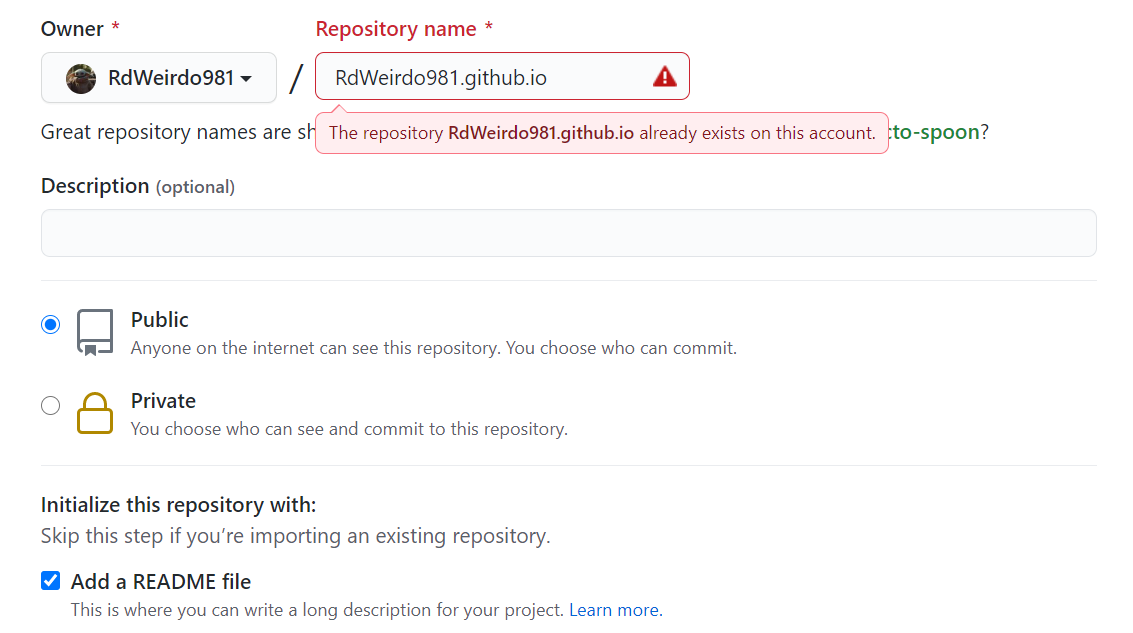
- Click Create repository.
Set up GitHub Pages
Click Settings
Find GitHub Pages. Your site is published at https://[ownername].github.io/
You can use Theme Chooser to select a theme for your blog.
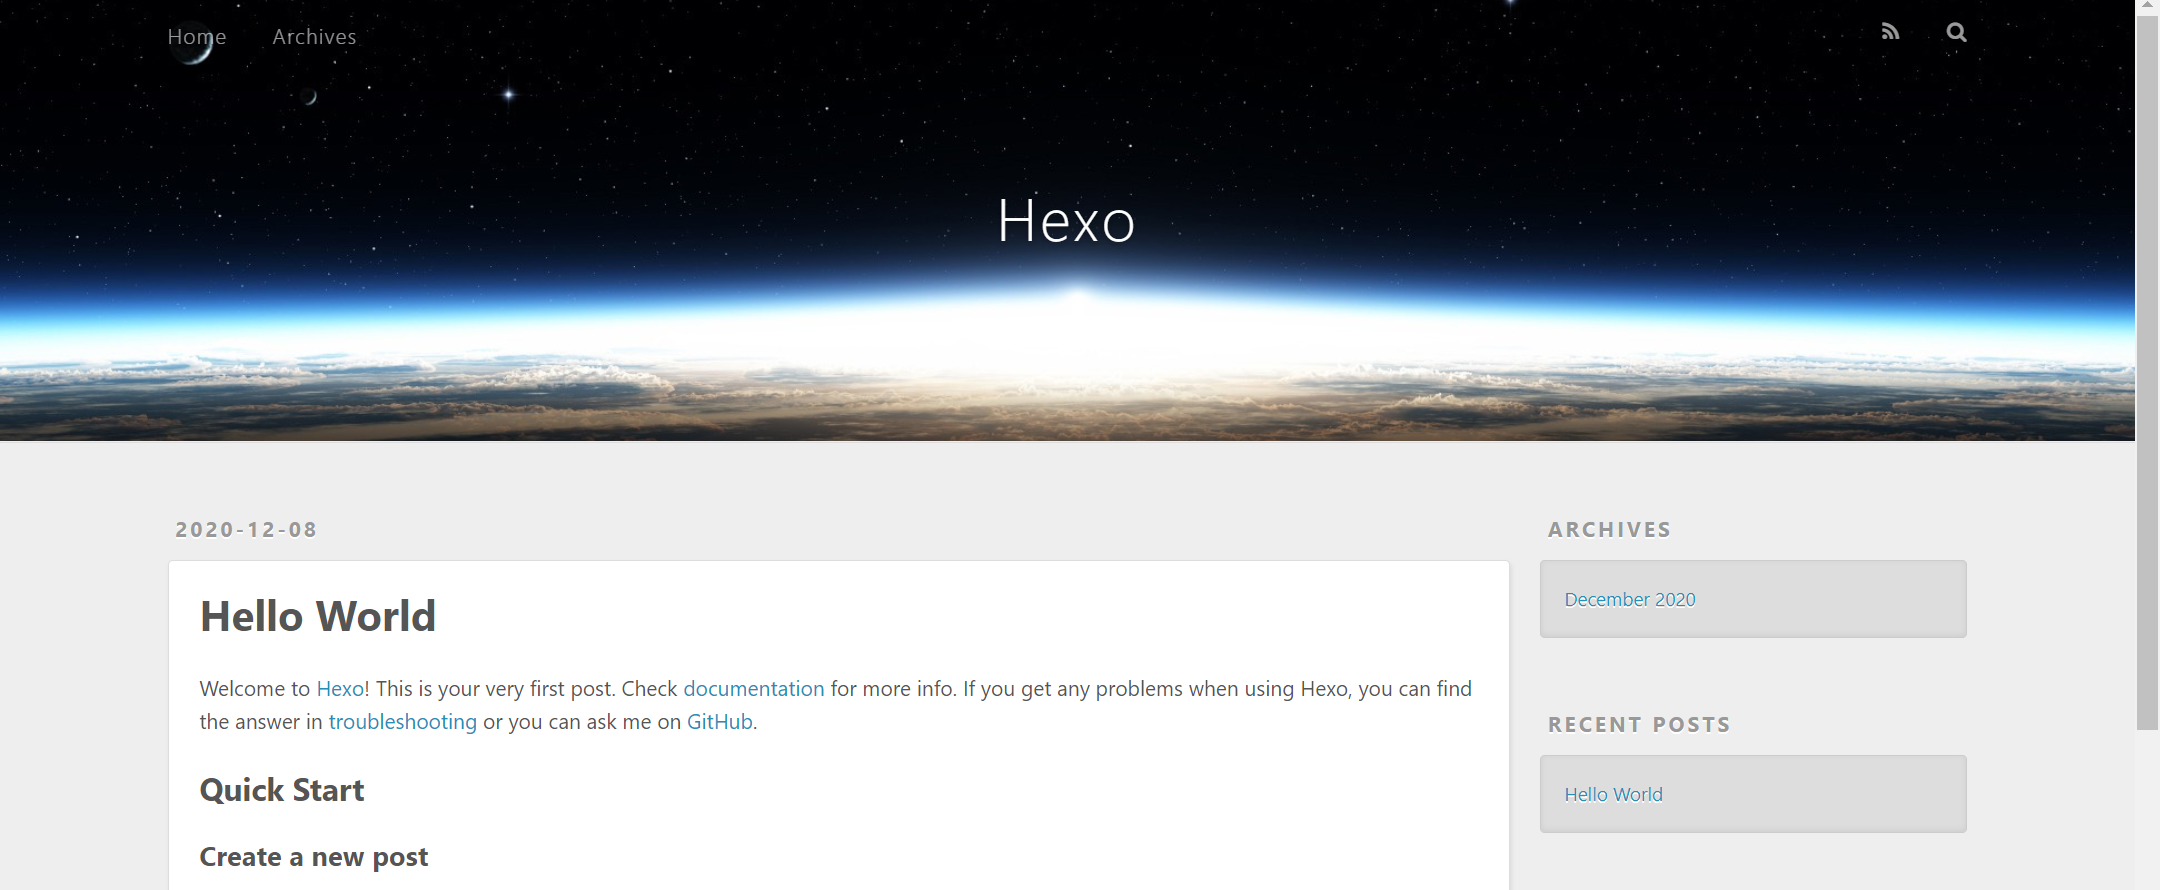
After committing the change, you will have the first look of your
Hexo Part
Choose the local path for your blog
I will use D:as an example.
In D:, Right click Git Bash Here
Enter
1 | npm i hexo-cli -g |
to install Hexo.
- Check by:
1 | hexo -v |
to see if the installation has done.
Initialize your website
We need to initialize our website locally by using Hexo.
In D:, Right click Git Bash Here
Enter
1 | hexo init |
- Enter
1 | npm install |
- Check by:
1 | hexo g && hexo s |
- Open http://localhost:4000/ to see if it works.
Ctrl+c to stop the local server
You can configure your Hexo setting in the **_config.yml** file.

- You can pick another theme for your blog. We usually recommend Next. Check https://theme-next.js.org/ to see more details.
Connect GitHub & Hexo
Configure the file
Open the **_config** file, and change the last block
1 | deploy: |
You should replace the Ownername by your own.
Note:
When I created the GH page, I use branch "main" as my website's source. If you want to use master as your source, you can simply change the source to master in your GitHub repo setting.
Deploy your website
In D:, Right click Git Bash Here
Enter:
1 | npm install hexo-deployer-git --save |
to install the extension.
- Push your website on GitHub by using these commands:
1 | hexo clean && hexo g && hexo d |
Notice:
If you have more than one blog under different GitHub accounts, you will find that it is a problem to push your various blogs. I will suggest two ways here:
Do not save your state. Every time you push your blog, you should login again using the right account.
Use different SSH keys to keep your blogs safe. I think this is a safer way, but not necessary. I will write another article to explore what a pair of SSH key is, how it can be used to generate safe connection between website and our localhost, and how it can be used to manage two GH pages.
Some Useful Setting
Asset folder for images
Sometimes we will find that the website can't upload our images even if we use the correct markdown grammar. This is because we have not enabled the asset folder yet.
In **_config.yml**, change
1 | post_asset_folder: true |
and it will work.
Note: there's no need to install hexo-asset-image, or if you have installed it, you should uninstall it by
1 | npm uninstall --save hexo-asset-image |
This is because hexo-asset-image has some errors that will lead to the failure of establishing the actual link to the referred images.
Change default font
This is controlled by your blog theme. I'll go with Next theme as an example.
Method one
Go to
~\theme\next\source\css\_variables, findbase.stylOpen it, and use search to find anything related to font.
Tips:
You will find that different Next version has slightly different default of settings. Learning some CSS will help you configure all these settings fluently.
Method two
Go to
~\theme\next,find_configChange font block
1 | font: |
And then you can configure global or distinct font by yourself.
Change border radius
I'm pretty into round border so I want to change read more, sidebar, and main header.
The main trick is to find "border-radium" in your CSS settings. Once you find them, you can change them as you like.
Change Read More button
In the current Next theme version, I put the following code in
~\themes\next\source\css\_common\components\post, but it
will change with the update of Next version. You have to try by yourself
until then.
You will find the index.stylfile, and add this code into
it.
1 | /* [Read More] button style */ |
Tip:
You can try thousands of types of styles by using CSS code. You can also use color gradient if you want. Just free your imagination.
Change the background & opacity
If you want to use your own image as the background, there's also a way to change it from blank. I think it might be prettier if we change the opacity at the same time, so I will give you the way to change opacity too.
Change the background
Go into
~\themes\next\source\css\_common\scaffolding, findbase.stylOpen it and add following code in
body{}
1 | body { |
Tip:
/images/background.jpg means
~\themes\next\source\images\background.jpg.
Change the opacity
There are 4 types of Next theme: Gemini, Mist, Muse, and Pisces. I'm using Pisces, but basically they are pretty much similar. So you can use the following guide to change your own theme version.
Go into
~\themes\next\source\css\_schemes\Pisces, find_header.styl, _sidebar.styl, index.stylAdd the one-line code into the main block of these files. I will use index as an example.
1 | .main-inner { |
Pin posts on top
The current Next theme support "sticky" characteristic in the
headline. So just add sticky: true and the pin function
will work.
If you want to pin your posts in a specific order, you can use
sticky: number. The pin posts will display in descending
order.
Number of posts per page
In your blog's_config file, find
index_generator:
1 | index_generator: |
change per_page to your preferred number.
How to write multiple categories and sub-categories
To sort your article into various categories, you can use the following method:
1 | categories: |
To create a sub-category, you can use [] as below:
1 | categories: |
Same with tags, you can use the first method to have multiple tags. But the second method is slightly different. When you use [] in tags, that also means multiple tags. After all, we don't need a sub-tag to mess things up.
How to add background music
I'd like to add the music player inside sidebar, so I choose to
change the file sidebar.njk under
~\themes\next\layout\_macro
1 | <div class="sidebar-inner"> |
Spotify needs the reader to login in which is also a bit complicated. I have a Spotify account, but I can't share the music with you if you don't have one. So if you want to use other music player rather than Spotify, it's simple to replace the iframe code inside the div block.
If you want to play the music cross the website, you can use pjax, which is sort of a plugin of jQuery.
- Enable pjax
In ~\themes\next, find the config file, and search for
pjax. Change false to be true.
1 | # Easily enable fast Ajax navigation on your website. |
- Add the plugin
~themes\next\layout, find _layout.njk. Add
the code under
tag
1 | <head> |
Personal Token
Since 8/13/2021, GitHub can only access by personal token. So we are introducing how to use token to deploy the blog.
GitHub account --> Settings --> Developer settings --> Personal access tokens --> Generate new token
Fill the information & generate the token
In _config.ymal, change the deploy part as below:
1
2
3
4
deploy:
type: git
repo: https://<token>@github.com/<username>/<repo>.git
branch: main # some might be master